Verify before excavating
Locate utilities, confirm drainage, equipment access and final grade. Keep the palm shaded and root ball protected if staging is unavoidable.
INSTALLATION FIELD GUIDE
This protocol is a starting framework for transplanted Medjool and Deglet Noor specimens. The installer must adapt it to root-ball size, soil texture, drainage, weather, emitter output and local requirements.
FIELD EXECUTION
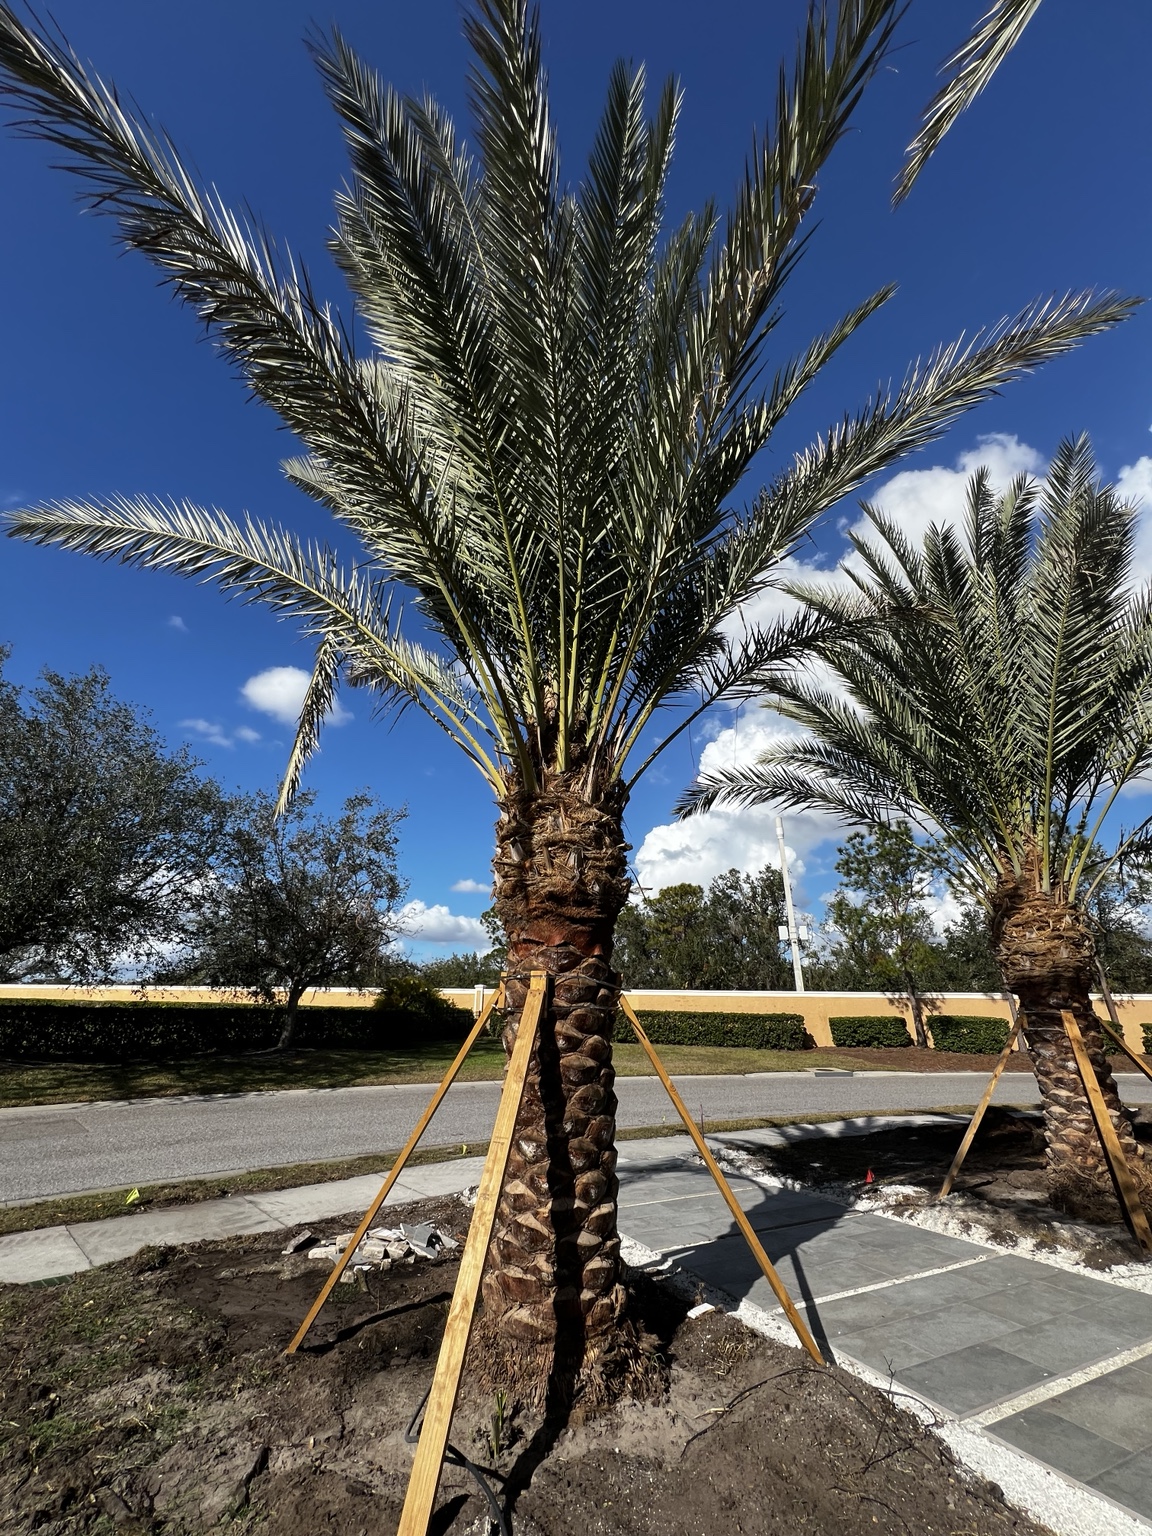
The receiving crew controls the final handoff. Correct elevation, uniform backfill settlement, an effective watering basin and non-girdling support protect the value built into the palm before arrival.
Locate utilities, confirm drainage, equipment access and final grade. Keep the palm shaded and root ball protected if staging is unavoidable.
Excavate wide enough for safe placement and working room—typically 12–24 inches wider than the root ball. Keep the bottom firm and undisturbed. Do not create a deep, loose pedestal.
Set the top of the original root initiation zone at, or slightly above, finished grade to allow for settling. Never bury the trunk or place the palm materially deeper than it grew.
Backfill primarily with the excavated native soil unless a site-specific soil test supports correction. Avoid creating a rich, sharply different pocket that holds water against the root ball.
Return soil in 8–12 inch lifts. Water each lift to settle soil around the root ball; use a blunt probe carefully where needed. Do not ram or compact hard enough to exclude oxygen.
Build a compacted soil berm beyond the root-ball edge, generally 4–6 inches high. The basin must hold the full irrigation dose over the root zone without water touching the trunk.
Fill the basin slowly until the root ball and adjacent backfill are uniformly wet and air pockets stop surfacing. Confirm infiltration and drainage before applying more.
Install three or four evenly spaced braces outside the root ball after the palm is plumb and watered in. Use padded, non-girdling trunk bands—never nails or screws into the palm.
Check moisture below the surface, basin integrity, brace tension, spear condition and lean frequently. Expand irrigation outward as roots regenerate.
ACCLIMATION IRRIGATION
A practical first dose is enough to wet the complete root ball and adjacent backfill without extended saturation or runoff. Record the gallons and elapsed time required—that becomes the site’s measured baseline.
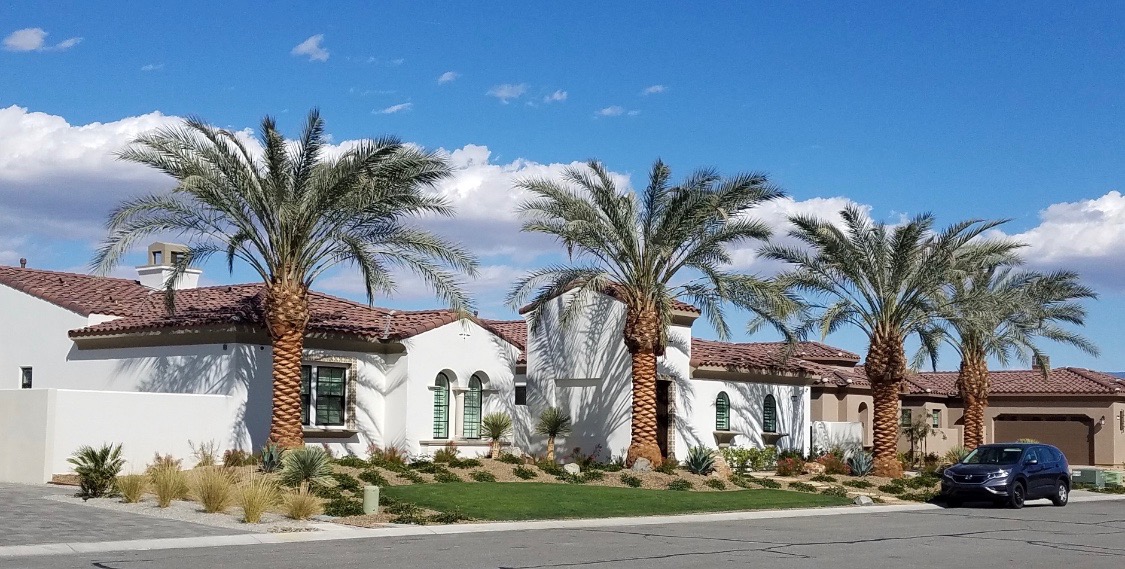
Hot, windy desert sites may need daily initial irrigation; humid or poorly drained sites may not. Gallons per day cannot be prescribed responsibly without root-ball dimensions, soil infiltration, emitter flow and weather. Palm Desert Palms can help develop a project-specific startup schedule.
START WITH THE SPECIFICATION
Share the cultivar, quantity, clear-trunk height, destination and delivery window. We’ll help define the right material and plan the move.